


Add a little craft and cheer to your Easter get-together with simple yet striking Easter crafts that the whole family can do together. These DIY pieces are super easy and suitable for children (with a little supervision from an adult), and will make an eye-catching Easter-themed table.
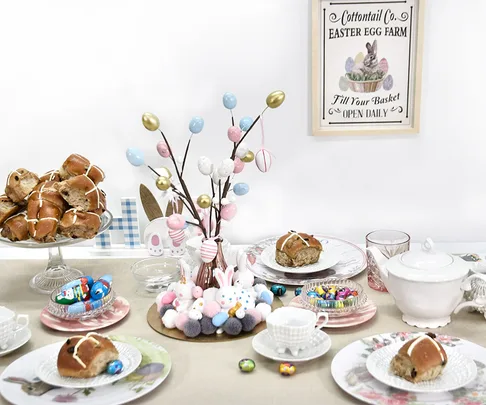
Easter Table Centerpiece
Perfect for theming the perfect Easter lunch get-together with family and friends.
What you’ll need:
- 1x round craft board
- 1x Paint your own bunnies and Easter eggs sets. We like these ones from Big W.
- A branch to hold the decorations
- 1x pack of decorative eggs or foam eggs
- 1x pom poms or cotton balls pack
- 1x small glass vase or jar
- Hot glue and glue gun
- Pen and paper
- Gold spray paint (optional)
- Gold acrylic paint (optional)
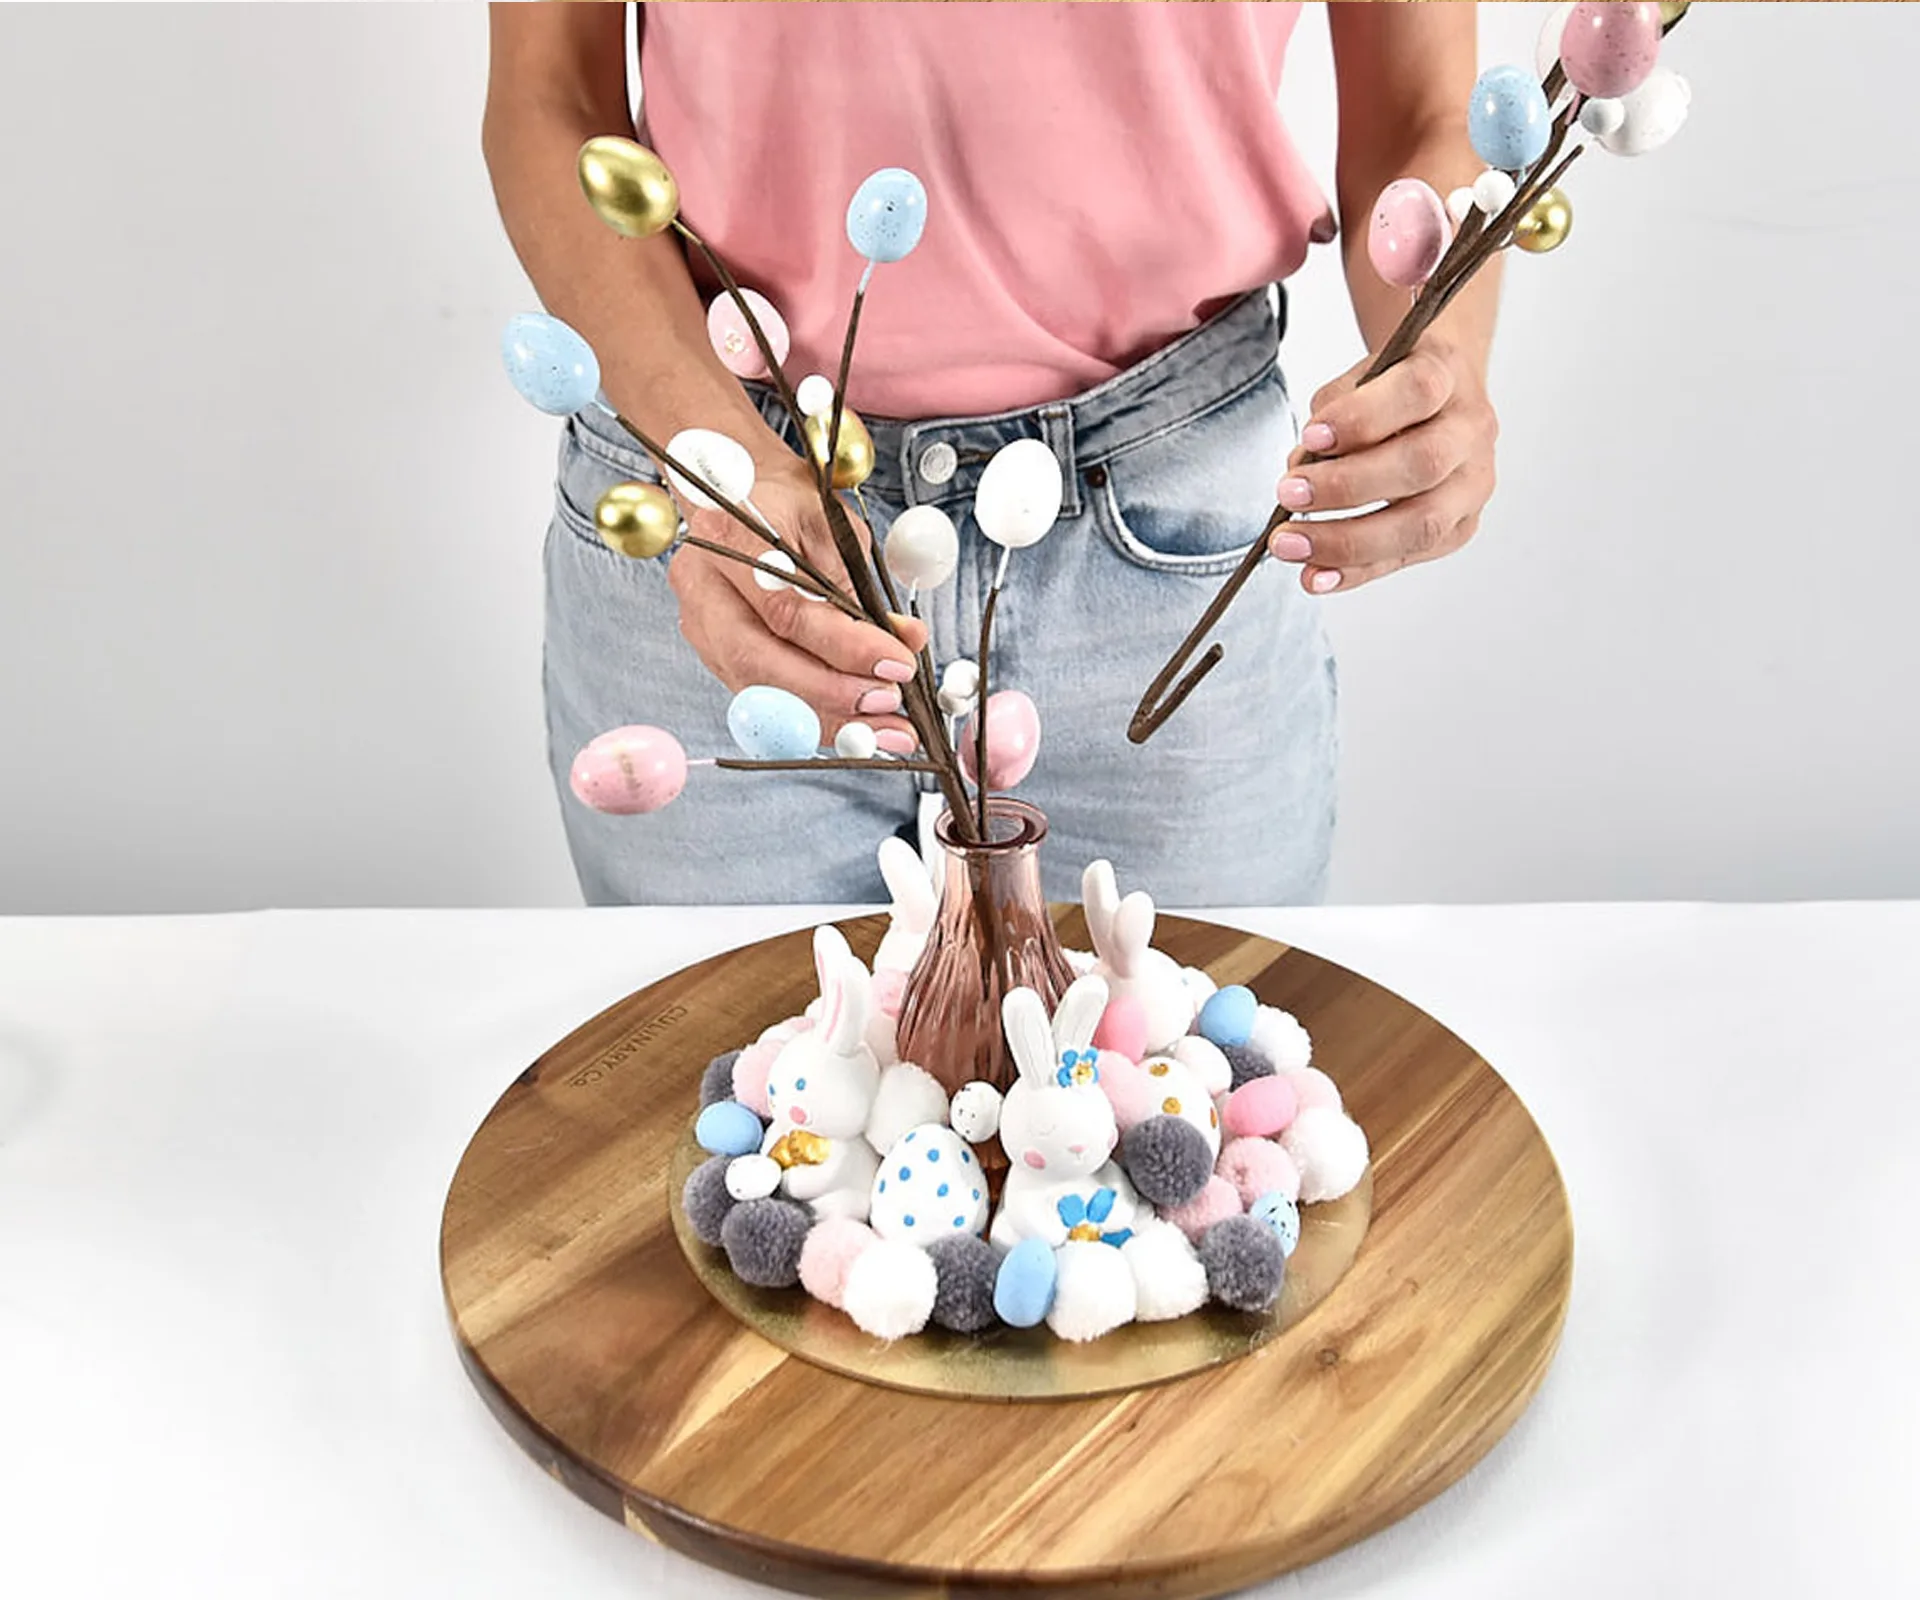
How to:
- Start by painting your decorations.
- Next, paint your craft board gold. We used spray paint, but you can use what you have on hand.
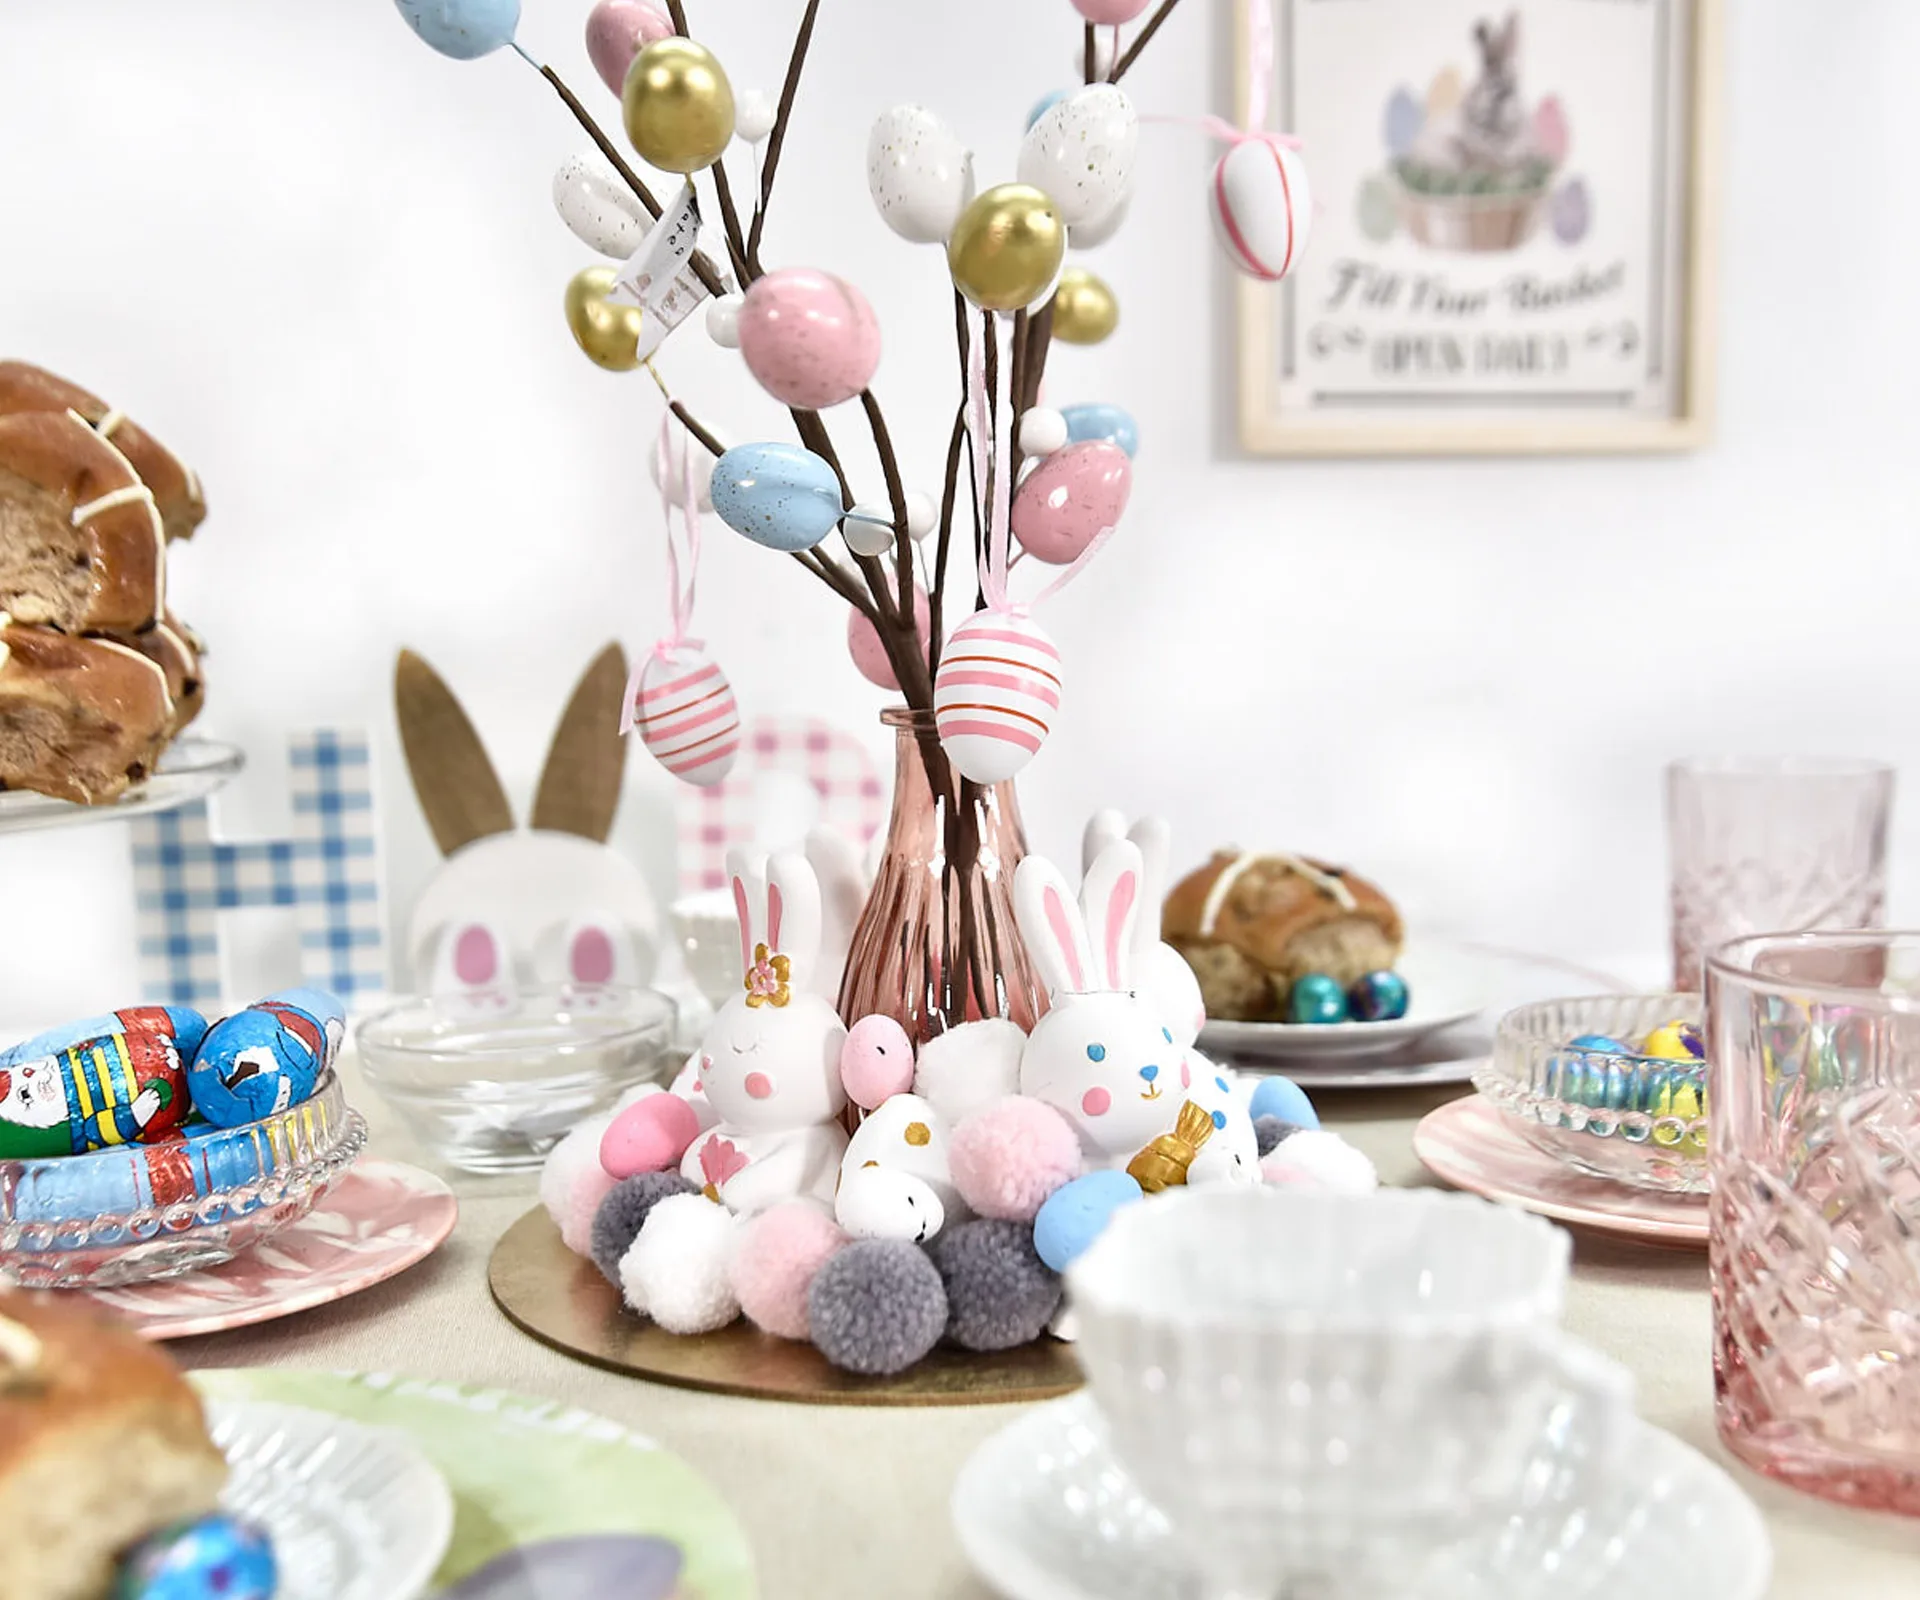
- Once the craft board is dry, use hot glue to secure a small vase to the centre of the board.
- Glue the bunnies to the board clockwise at 12pm, 3pm, 6pm and 9pm.
- Glue the plaster eggs between the bunnies. Add your pom poms and decorative eggs, layering them around the board using hot glue.
- Cut some small strips of paper and invite family and friends to write an Easter wish.
- Add your Easter branches to the vase and attach your Easter wishes.
- Place in the centre of your Easter-themed table with some extra paper strips and a pen. Continue inviting guests to write notes and add to your tree!
Easter crafts can be as extravagant or as simple as you like. (Credit: Image: Handy With Scissors) (Credit: Image: Handy With Scissors)
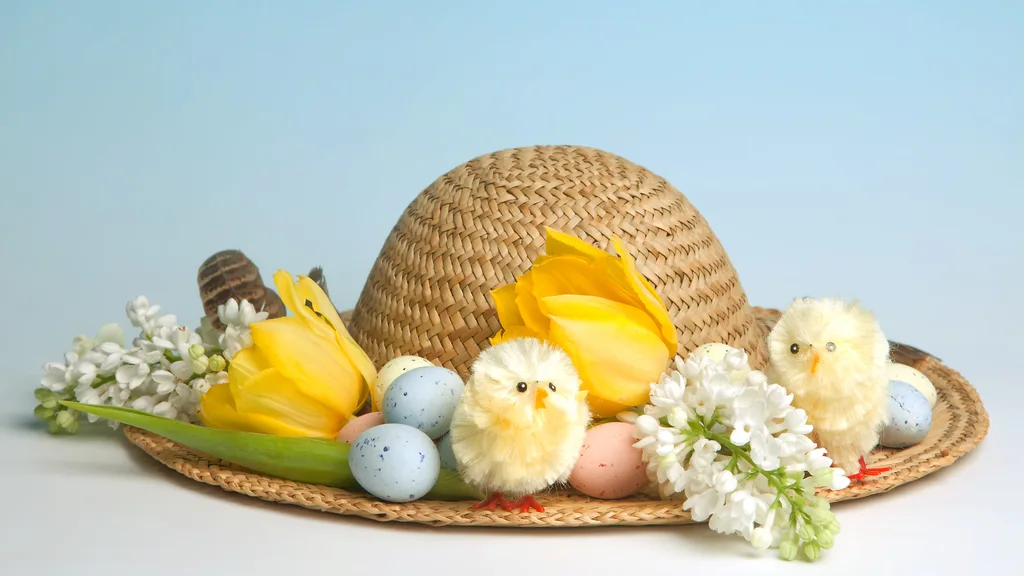
Easter Hat
An Easter hat is a fun and often fabulously over-the-top headpiece people make or wear to celebrate Easter — kind of like a creative, seasonal crown! It’s especially popular with kids in schools (you’ll often hear about Easter Hat Parades), but adults can get in on the fun too, especially for themed events or crafty content.
There are some absolutely fabulous examples over on Bounty Parenting, but here’s a quick how-to.
What you need:
- A plain hat (straw hat, bucket hat, party hat, or even a cardboard crown)
- Craft glue or a hot glue gun
- Scissors
- Coloured paper or card
- Pipe cleaners, pom-poms, cotton balls
- Plastic or chocolate eggs (mini size)
- Toy chicks or bunnies (optional)
- Faux flowers, ribbon, or lace
- Googly eyes, felt, glitter (optional fun add-ons)
How to:
- Choose your hat base: Start with a sturdy base — like a straw hat, a cardboard circle crown, or even a headband you can build off of.
- Plan your design: Decide on a theme (e.g. bunny garden, spring bouquet, chick nest) so you don’t go glue-crazy with no plan.
- Make your effects: Cut out bunny ears from cardstock and glue them to the inside of the hat or onto a headband. Roll cotton balls into a bunny tail and glue them to the back. Use pipe cleaners to make little egg nests or curly flower stems.
- Start decorating: Glue flowers, mini eggs, chicks, ribbons — whatever fits your theme — around the brim and sides.
- Layer for texture: flowers behind eggs, tulle behind ears, etc. or add glitter or sequins last for a little sparkle.
- Let it dry: Leave it to dry fully, especially if you’re using a hot glue gun or a lot of craft glue.
- Pop it on, check if anything feels wobbly, and secure anything that needs extra support.